Here at Bottom Left of the Mitten, I want to share delicious recipes for everyone, from family-friendly meals to delicious recipes to pair your favorite beer with.
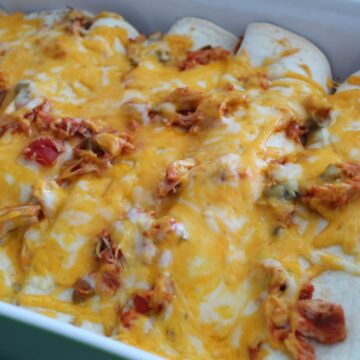
See what’s popular…..
Yeah, they are kind of my favorites too.

Food to Drink Too
Finding food to drink with your favorite beer has never been easier.
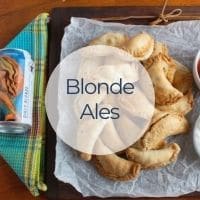
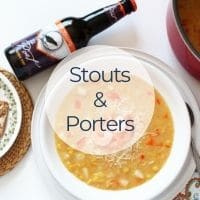


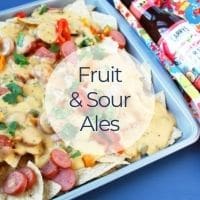


Ale Pairings
Beers like wheat, amber, and golden ales are GREAT beers to pair with practically any main dish. Find your Ale beer and recipe resource here.
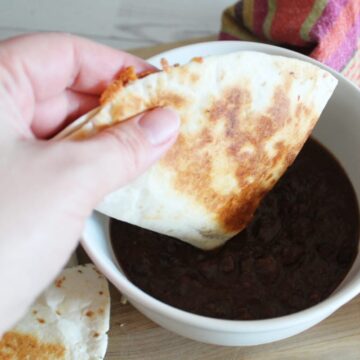
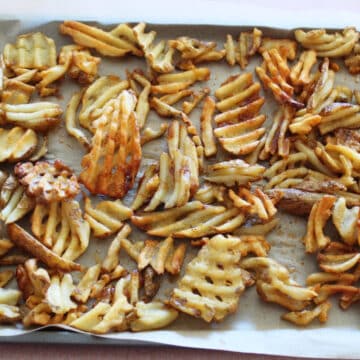
Air Fryer Recipes
Have an air fryer? Is it still in the box like most popular kitchen gadgets? Time to break it out and find out why it will become your new favorite way to cook.
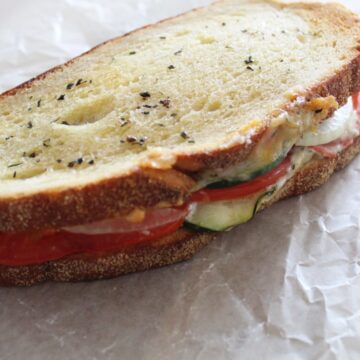
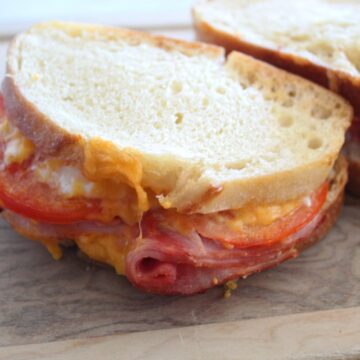
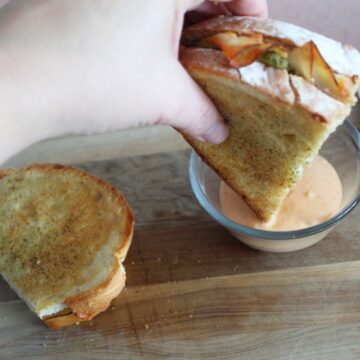
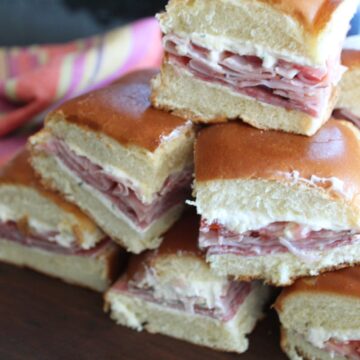
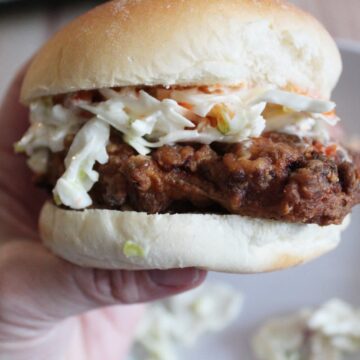
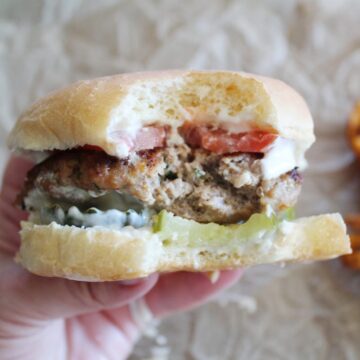
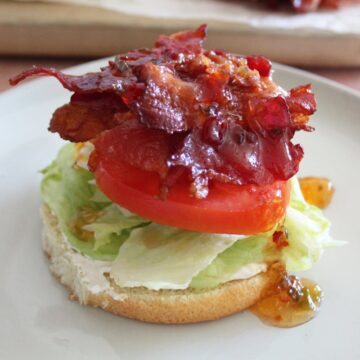
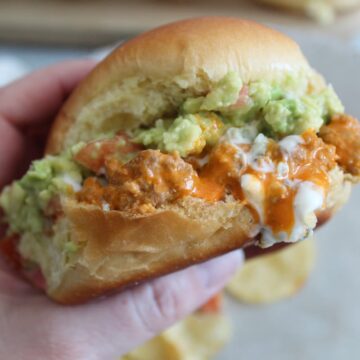
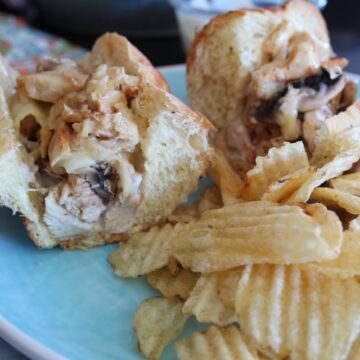
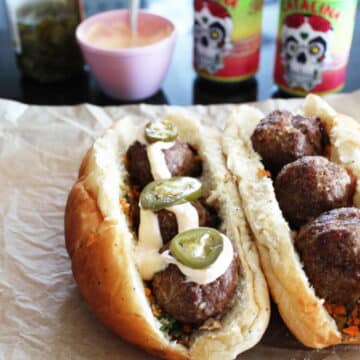
Sandwiches
I subscribe to the Liz Lemon philosophy of life – ‘I believe that all anyone really wants in this life is to sit in peace and eat a sandwich.’

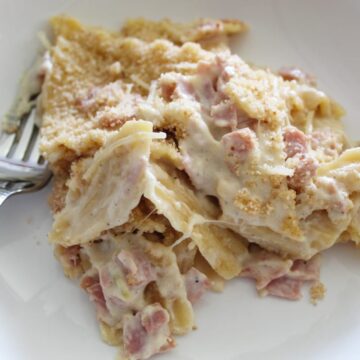
New & the New Improved
New recipes and favorite posts that recently got a glow up.
Recent Posts & Recipes
New recipes and posts coming at you hot!