Skip to primary navigation
Skip to main content
Skip to primary sidebar
Skip to footer
Home
Recipes
‘Celebrate with 8’
Celebrate with 8
Gift Guides
Contact
Disclosure Policy
Search
sugar
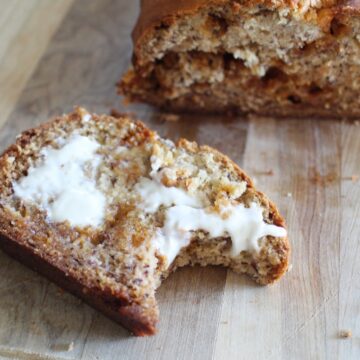
Butterscotch Banana Bread
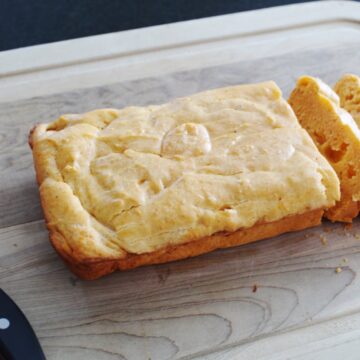
Salsa Bread
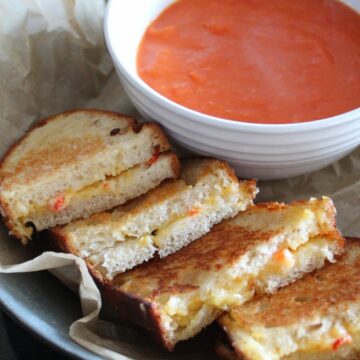
Tomato and Roasted Red Pepper Soup with Pimento Grilled Cheese
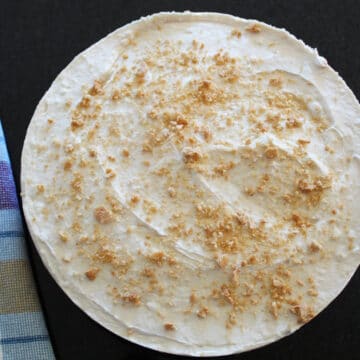
Chunky Applesauce Cheesecake
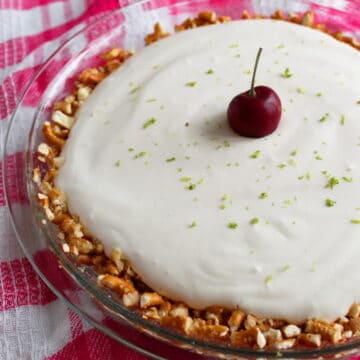
Cherry Limeade Pretzel Pie
Chocolate Bottom Strawberry Cheesecake
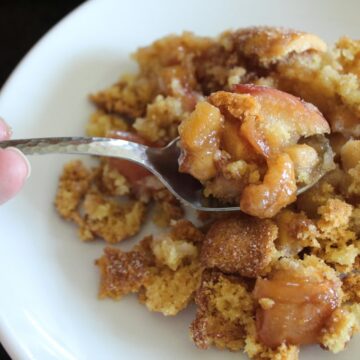
Sugar Cookie and Apple Cobbler
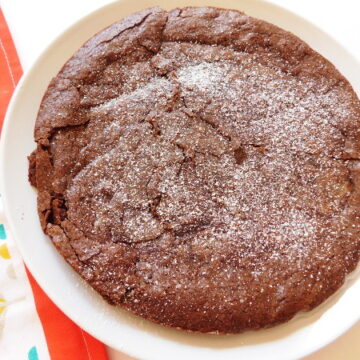
Swedish Sticky Chocolate Cake
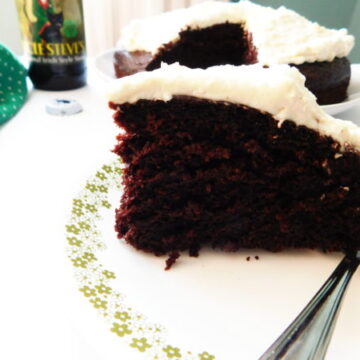
Irish Stout Cake
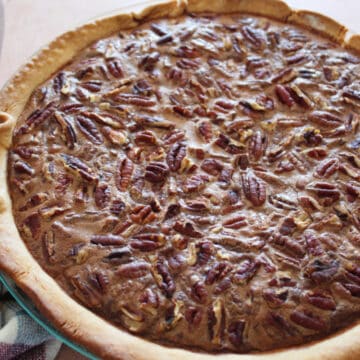
Chocolate Pecan Pie
Go to page
1
Go to page
2
Go to page
3
Go to
Next Page »