
This pudding recipe will transport you back to childhood. Homemade chocolate pudding is easy to make and you probably have all the ingredients on hand.
*Affiliate links may be included in this post. Please read my Discloser Policy.
I received Rodelle Gourmet Baking Cocoa complimentary but all opinions stated in this post are my own.
Jump to:
This week I thought I would make a rich, chocolate dessert that takes me back to my childhood. Sundays were spent at my Grandma and Grandpa’s house and dessert was usually a big bowl of homemade chocolate pudding. Rodelle’s Dutch-processed cocoa gives this chocolate pudding a rich flavor and is easy enough to make your sweet tooth happy.
Ingredients
This quick and easy chocolate pudding recipe has-
- Cocoa powder. Unsweetened cocoa powder can be found traditionally next to the cornstarch at the grocery store. Brands like Rodelle Baking Cocoa give a rich and chocolaty flavor without having to melt chocolate chips or baking chocolate.
- Cornstarch. The key to this thick pudding is the addition of cornstarch.
- Sugar. It’s what adds the sweetness.
- Whole milk. Whole milk adds creaminess to the pudding base.
- Salt, butter, and vanilla extract. These are optional, but add a little something extra.
Visit YouTube for a video of how to make this
Homemade Chocolate Pudding
How to make homemade chocolate pudding step-by-step
In a medium-sized pan add the dry ingredients: sugar, cocoa powder, cornstarch, and salt whisk together the ingredients so they are all combined.
Move the pot to the stovetop.
Measure out 2 cups of milk and whisk it into the dry ingredients. Turn on the stove to medium heat. Add the additional 2 cups of milk, butter, and vanilla.
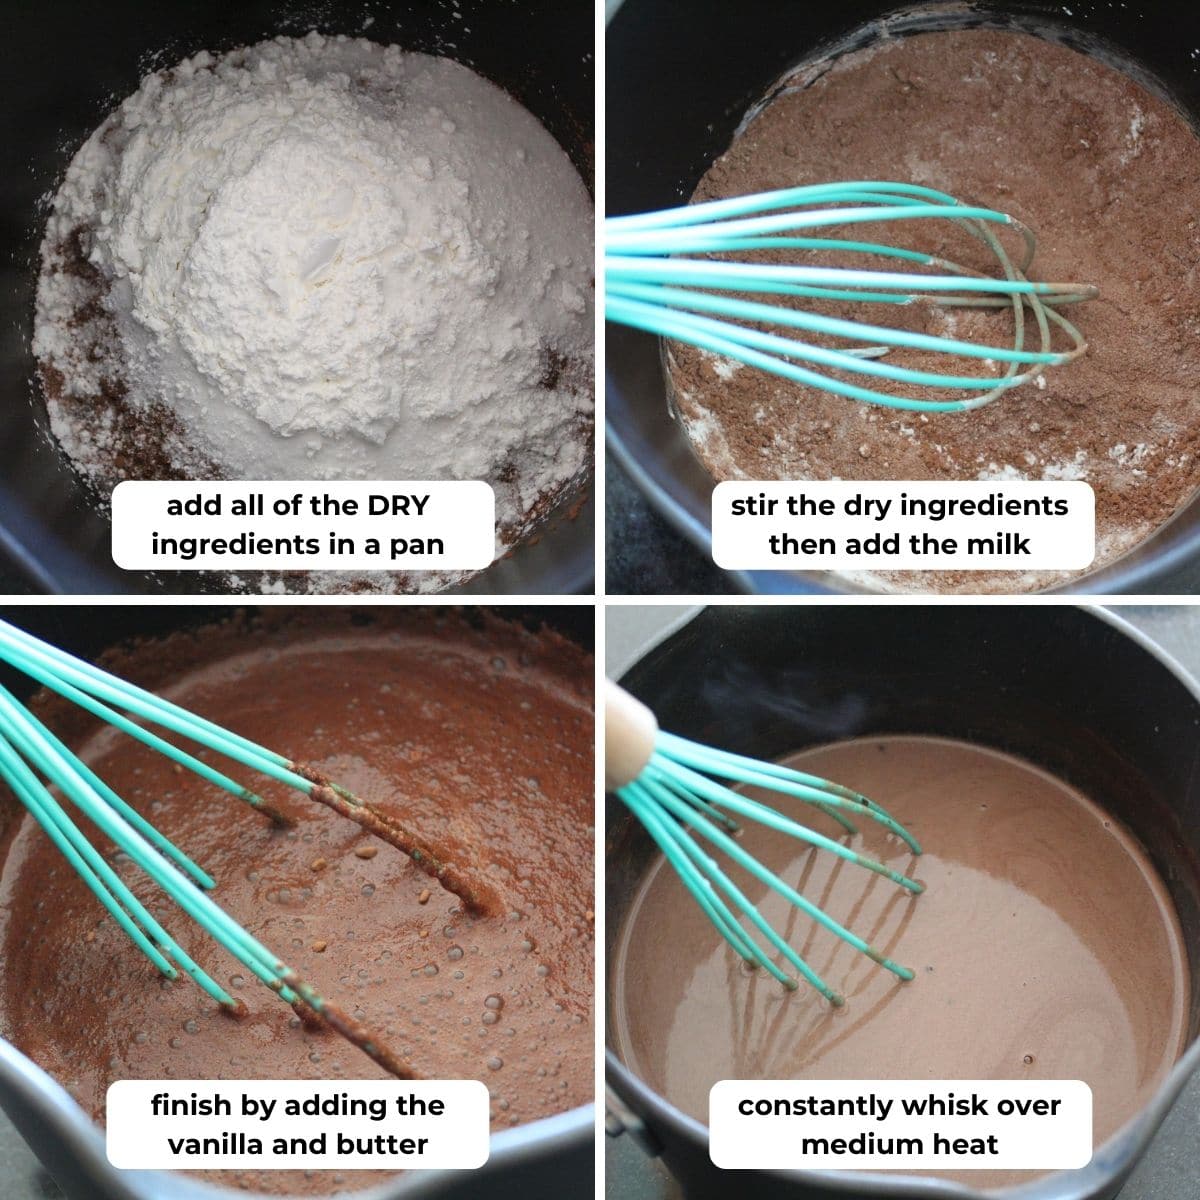
With the heat going constantly, but do not let it come to a boil, keep the whisk going. The lumps at the top will eventually disappear so be patient. Keep stirring until the pudding starts to thicken–this takes about 5-8 minutes so be patient as you need to stay and whisk the pudding the whole time so the bottom doesn’t burn.
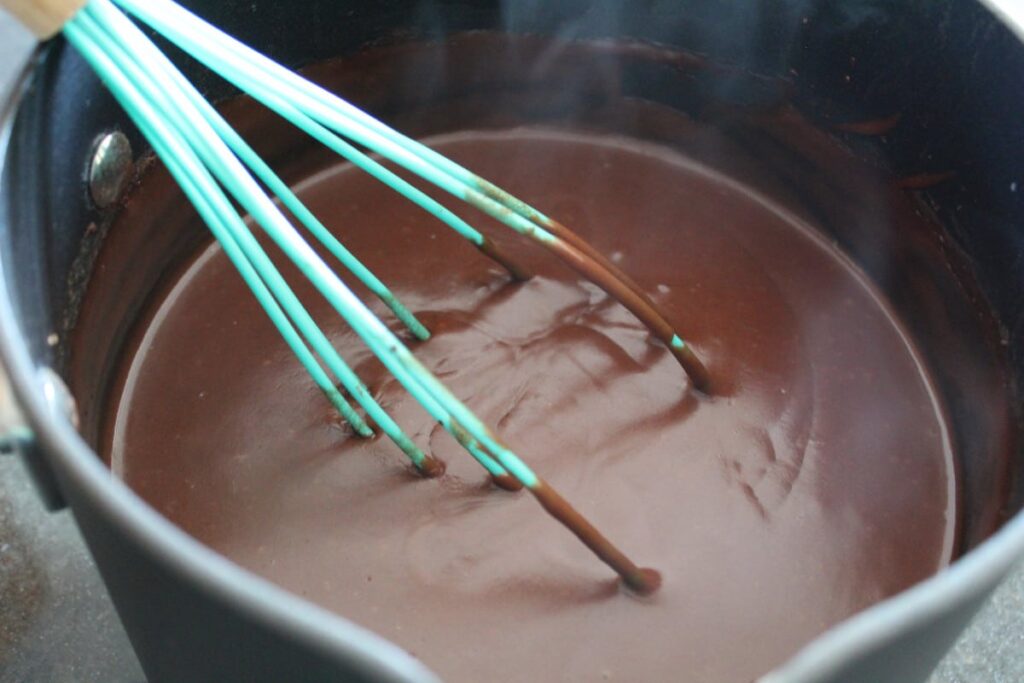
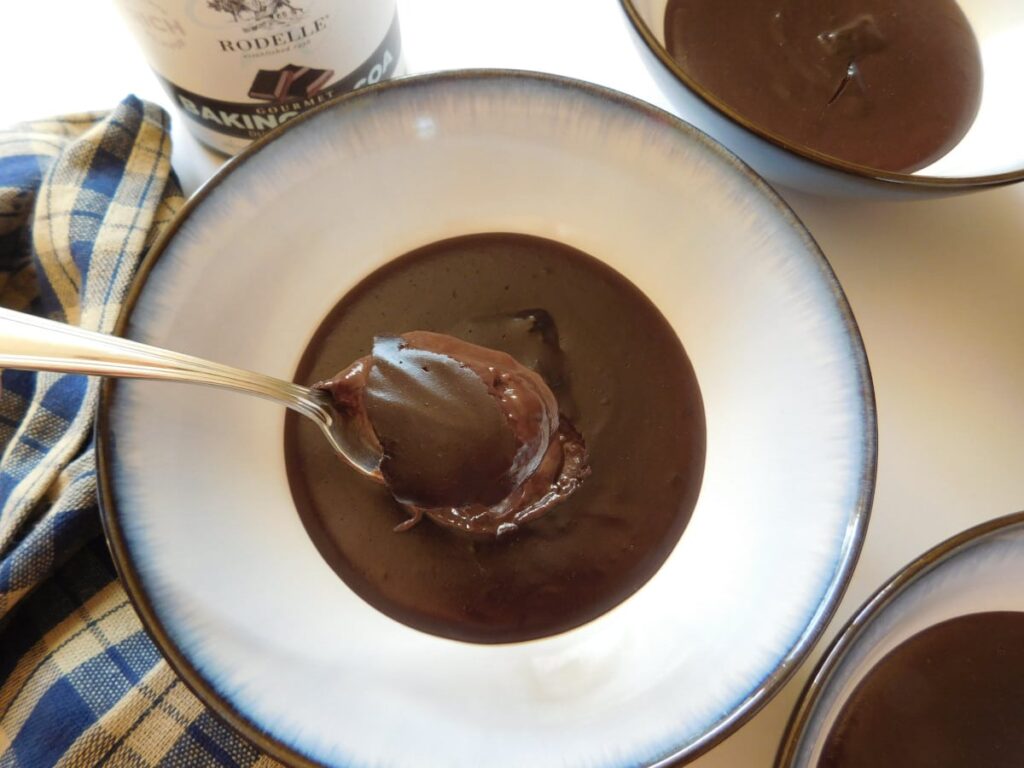
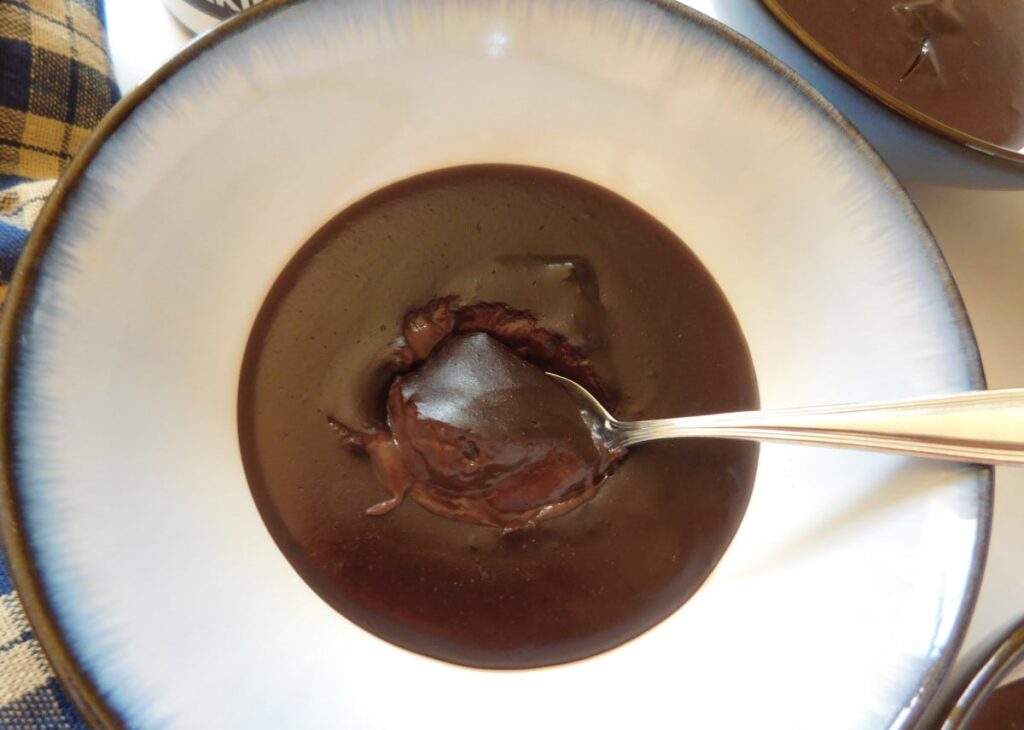
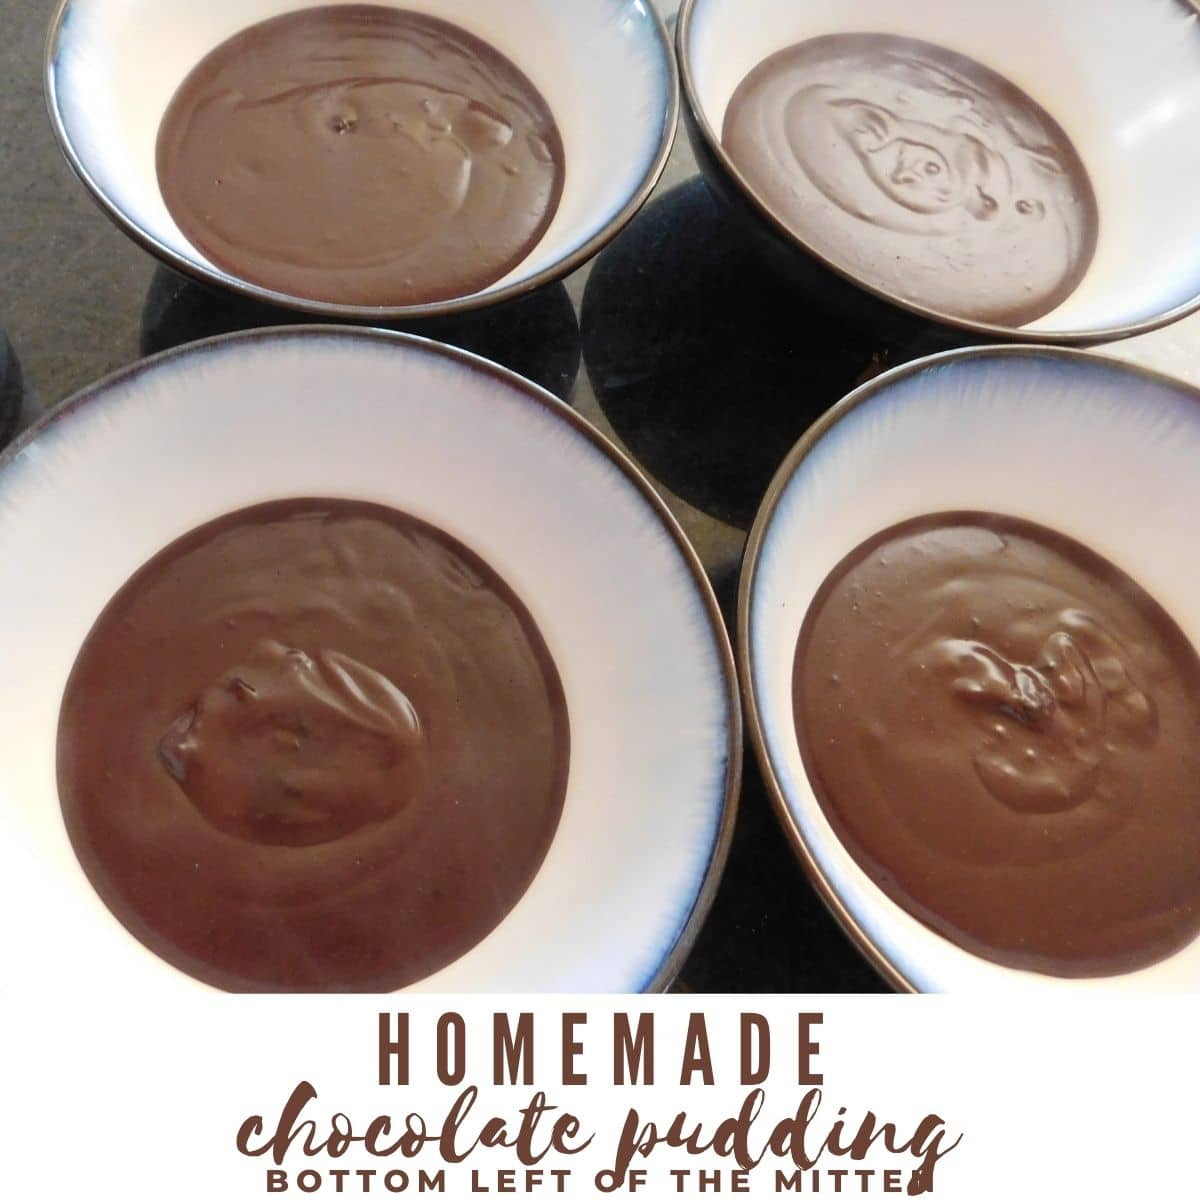
When you can dip a spoon into the pudding and it coats the back of it you can take it off the heat and put it into serving bowls. Give the pudding at least 10 minutes to cool down and firm up a little if eating warm.
Serve warm or chilled. With or without whipped cream.
Don’t like pudding skin?
Cut wax paper to fit or press plastic wrap directly down on the top to prevent the skin from forming. If you want it cold put it into the fridge for about half an hour.
FAQ’s
Can you make this dairy-free?
Sure. Feel free to use your desired dairy-free milk and skip adding butter to the recipe.
What about making this dark-chocolate pudding?
Yes! Switch out the regular cocoa powder for dark chocolate powder like Hershey’s Special Dark.
Storage
Let any leftovers cool and then add to a covered container and refrigerate. Eat within 3 days. Reheat in the microwave or on the stovetop.
It is not recommended to freeze this recipe.
More chocolate recipes


And here you are…..
From our home in the Bottom Left of the Mitten to yours ~ Enjoy!
Homemade Chocolate Pudding
Equipment
- medium sized pot
- whisk
Ingredients
- 1 cup sugar
- 1/2 cup Rodelle’s Gourmet Baking Cocoa
- 1/4 cup Cornstarch
- 1/2 teaspoon salt
- 4 cup milk I use whole milk
- 2 tablespoons butter
- 2 teaspoons vanilla extract
Instructions
- In a medium-sized pan add the dry ingredients: sugar, cocoa powder, cornstarch, and salt. Whisk together the ingredients so they are all combined. Move the pot to the stovetop.1 cup sugar, 1/2 cup Rodelle’s Gourmet Baking Cocoa, 1/4 cup Cornstarch, 1/2 teaspoon salt
- Measure out 2 cups of milk and whisk it into the dry ingredients. Turn on the stove to medium heat. Add the additional 2 cups of milk, butter, and vanilla.4 cup milk, 2 tablespoons butter, 2 teaspoons vanilla extract
- With the heat going constantly keep the whisk going. The lumps at the top will eventually disappear so be patient. Keep stirring until the pudding starts to thicken–this takes about 5-8 minutes so be patient as you need to stay and whisk the pudding the whole time so the bottom doesn't burn.
- When you can dip a spoon into the pudding and it coats the back of it you can take it off the heat and put it into serving bowls.
- If eating warm give the pudding at least 10 minutes to cool down and firm up a little.
- For no skin: cut wax paper to fit or plastic wrap pressed down on the top to prevent the skin from forming.
- If you want cold: put it into the fridge for about half an hour.
- Serve warm or chilled. With or without whipped cream. Enjoy!
Video
Notes
Tips for making this recipe:
- Be patient when making this recipe. It may seem like it’s taking too long after 5 minutes but it really could take up to 8 minutes or more to reach the right thickness.
- Don’t like pudding skin? Cut wax paper to fit or plastic wrap pressed down on the top to prevent the skin from forming. If you want it cold, put it into the fridge for about half an hour.
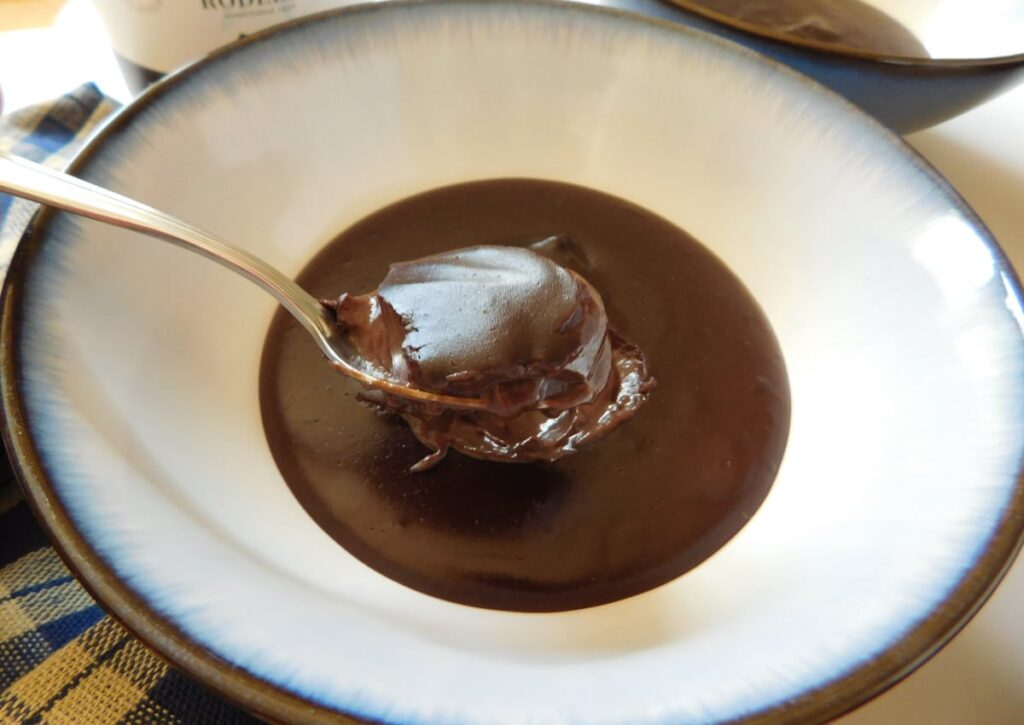
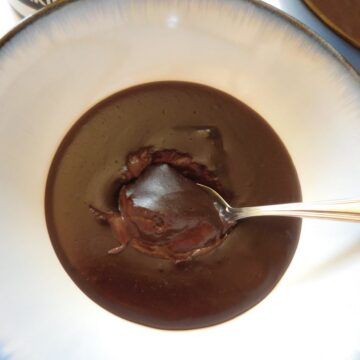
- I like to serve the pudding slightly runny. The longer you let it sit though, the thicker it will get. Once you’ve made it a few times you will start to gauge how you like to eat it.
- To store: cool and add to a covered container and refrigerate. Eat within 3 days. Reheat in the oven or on the stovetop with a small amount of milk.
Originally published in October of 2017. Updated post in November of 2021 with new photos, same great recipe.
*Affiliate links are included in this post. Please read my Discloser Policy.
Last Updated on April 23, 2023 by Erin@BottomLeftoftheMitten


YUM I love chocolate pudding! When we were kids, my mom would make it and put a little dollop of cool whip in the middle as a surprise. 😀
That sounds so good! I will have to try that.
Homemade chocolate pudding is one of my hubby’s favorite desserts! Yours looks divine!
Thank you so much Liz!
Thanks for sharing your memories and this wonderful recipe.
Thank you so much Wendy!
Can I use whip cream instead of milk
I would only use the milk, I would think that heavy whipping cream would not be a good alternative.