Skip to primary navigation
Skip to main content
Skip to primary sidebar
Skip to footer
Home
Recipes
‘Celebrate with 8’
Celebrate with 8
Gift Guides
Contact
Disclosure Policy
Search
milk
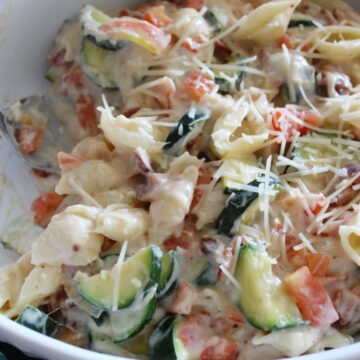
Bacon Shells and Cheese
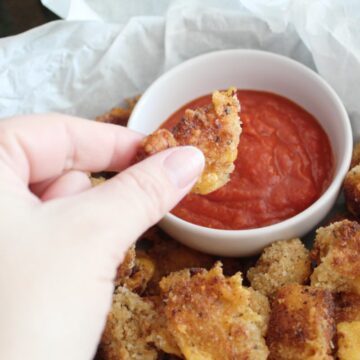
Fried Cheese Curds
Death By Dark Chocolate Donuts
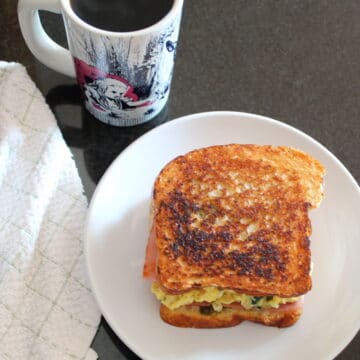
Ham & Spinach Breakfast Sandwich
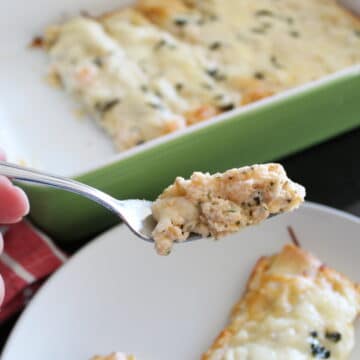
Shrimp Cannelloni
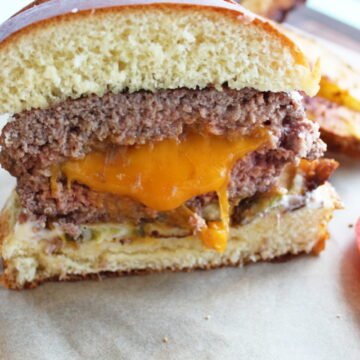
Fried Jalapeno Burger
Bubble & Squeak (with Ham and Eggs)
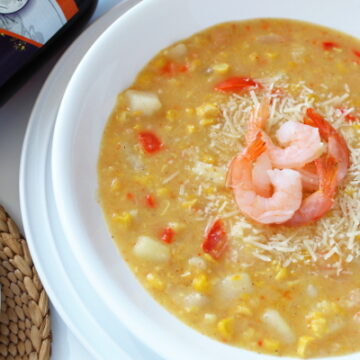
Shrimp and Corn Chowder
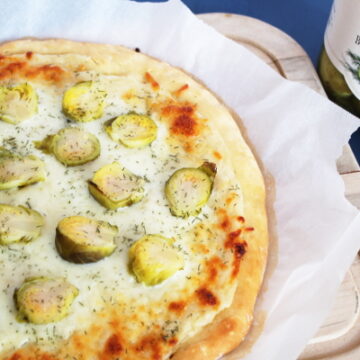
Dilled Brussels Sprouts Pizza
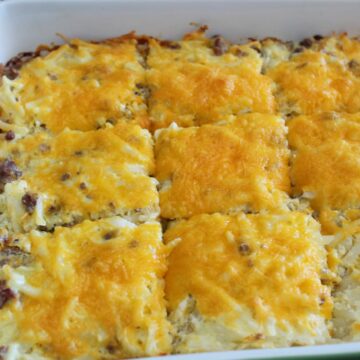
Sausage Hash Brown Casserole
Go to page
1
Go to page
2
Go to page
3
Go to
Next Page »